Working with route results
Filter, score, favorite, build, and explore — the full nine-step walkthrough.
After a retrosynthesis job completes, the route viewer gives you tools for scanning, filtering, scoring, and assembling routes. This is the full workflow — nine steps, end to end — for turning a pile of candidate routes into a short list you'd actually run.
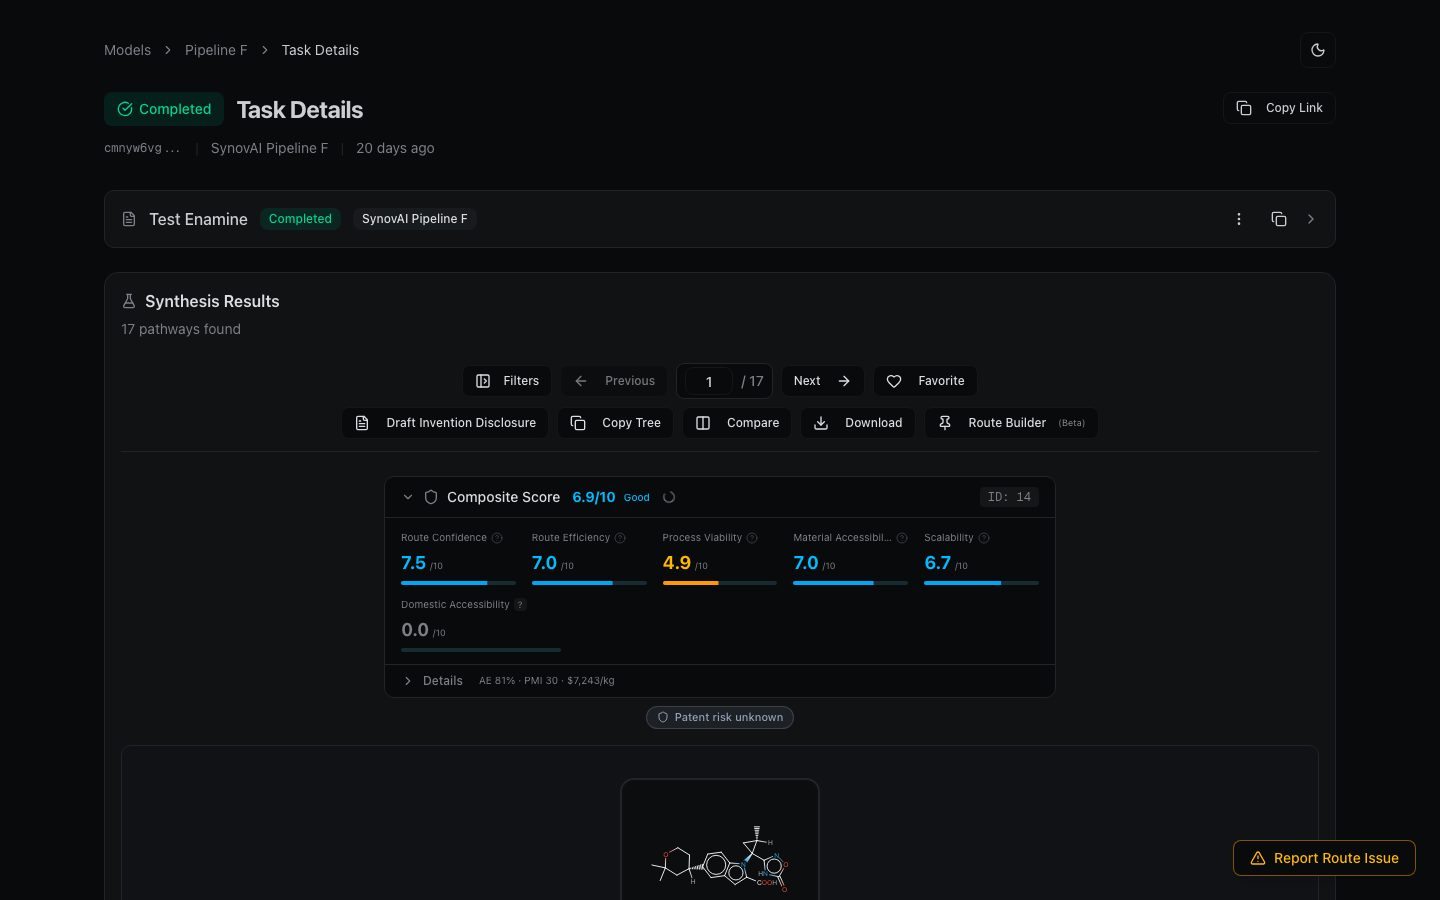
Step 1: Scan the route metrics
Each route shows a Confidence score (how well-precedented the reactions are) and a Scalability score (how well the reactions scale up). Use these as a first pass to gauge route quality. The navigation bar shows how many routes were found — browse through them with the arrows.
Step 2: Check vendor availability
Every molecule in the tree carries a vendor badge if it's commercially available. An intermediate available from 50+ vendors might be worth buying instead of synthesizing — effectively shortcutting your route. Hover over any molecule for the full vendor list with supplier links and catalog IDs.
Step 3: Read the convergence badges
Convergence badges (purple / blue / sky) show how many routes share each intermediate. A molecule appearing in 27/27 routes is a key building block — most retrosynthetic strategies go through it. Low convergence means a unique disconnection, potentially more novel but less validated.
Step 4: Filter and score
Open Filters to narrow the set. Exclude reaction types you can't run in your lab. Apply a Scoring Profile to rank routes by your priorities — Discovery for quick results, Process for scalability, IP/Patent for diversity. Create a Custom Profile with your own weights if the built-ins don't match.
Step 5: Favorite your top candidates
Click the heart icon on routes you want to keep. Toggle "Show Favorites Only" in the filter sidebar to compare just your shortlist side by side.
Step 6: Build a custom route
Open Route Builder and pin the best transformation steps from different routes. The builder validates connectivity — green lines mean steps connect, red "NOT CONNECTED" means there's a gap. Click the crosshair on a gap to run the missing intermediate as a new target. Your pins persist across tasks, so you can assemble a route from multiple searches.
Step 7: Explore convergence
Click any convergence badge to open the Convergence Explorer — see precursors, products, and co-occurring molecules for that intermediate. Exclude molecules you want to avoid and the route viewer updates automatically when you switch back.
Step 8: Exclude substructures
In the filter sidebar, enter a SMILES or SMARTS pattern in Exclude Substructure to remove routes containing dangerous reagents or incompatible functional groups.
Step 9: Dive into references
Hover over any reaction step and click View Reference Entries to see the full experimental procedures from patent literature — reagent quantities, solvents, temperatures, and workup conditions.
What to read next
- Route builder — pinning, validation, and export.
- Scoring profiles — built-in and custom ranking.
- Convergence explorer — navigating the precursor / product / co-occurring view.